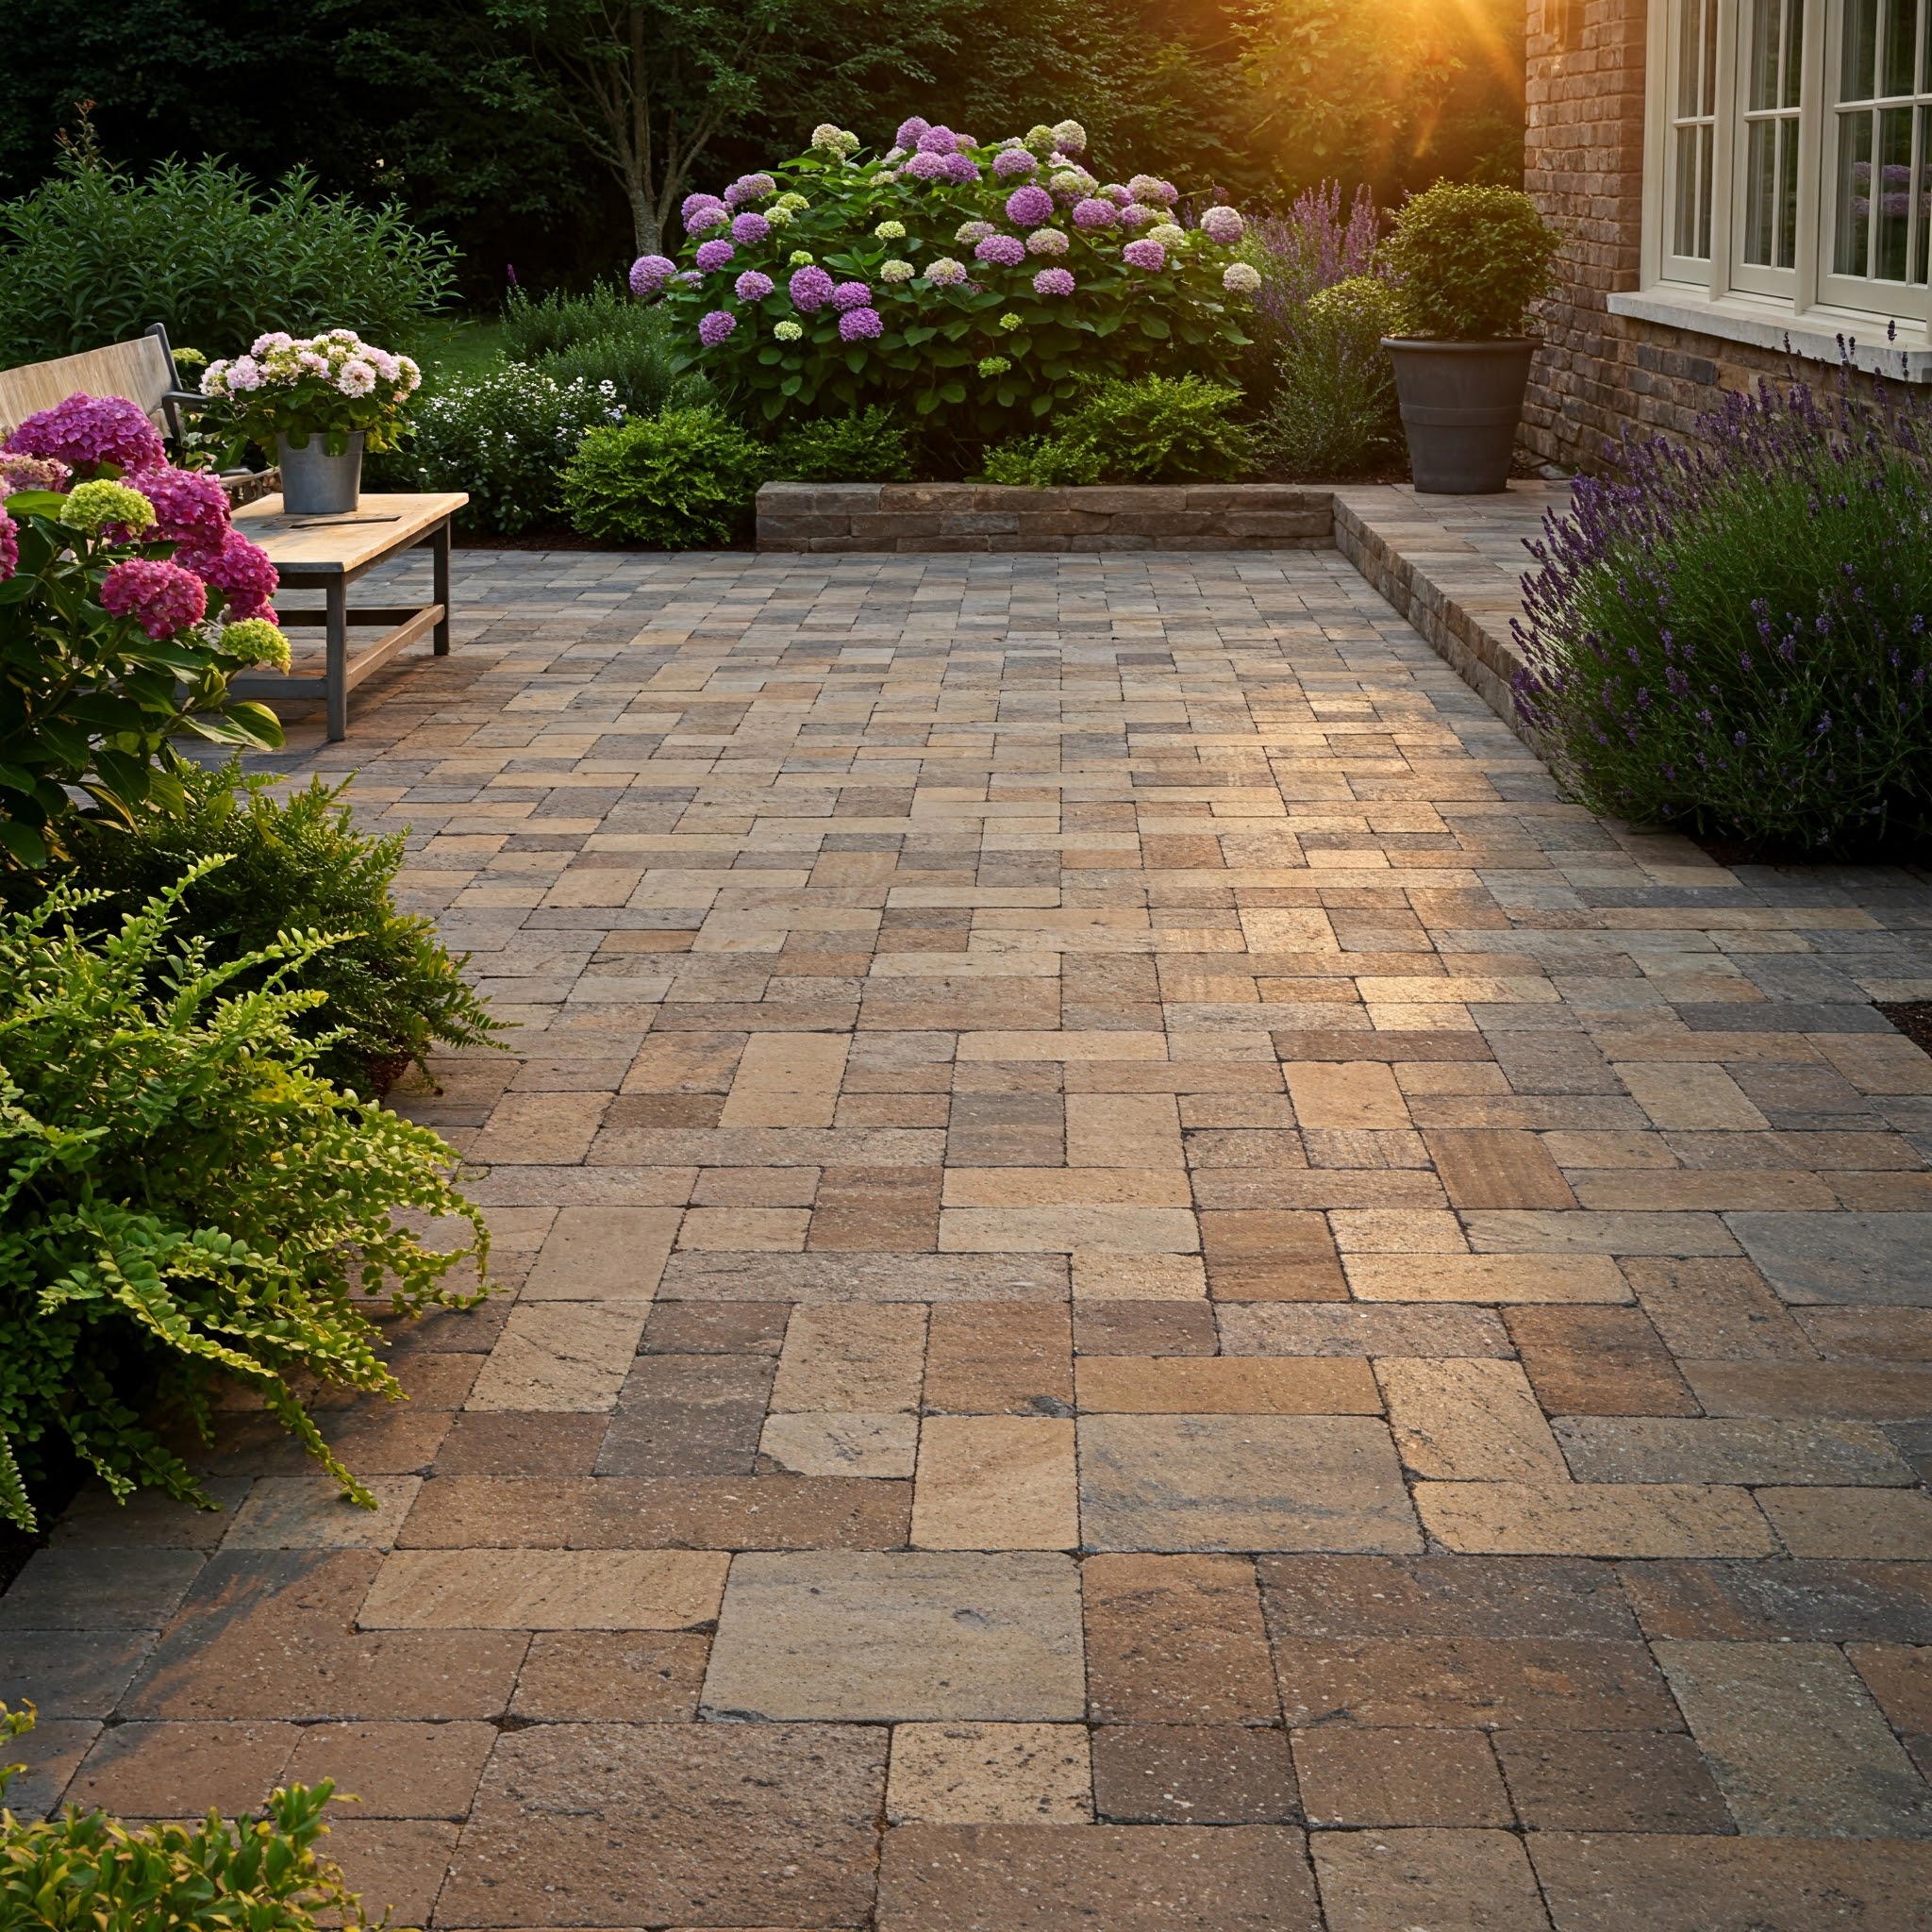
Ever stared at your boring backyard and thought, “This could be something…” Yeah, I’ve been there too.
When we first moved into our house, the backyard was just… blah. A patchy lawn, an old folding chair, and the neighbor’s cat who thought it was his personal nap zone. I wanted a space that felt cozy and inviting—but without spending a fortune. That’s when I discovered the magic of DIY patio pavers.
Whether you’re dreaming of a little corner to sip coffee or a space to host weekend BBQs, patio pavers are surprisingly easy to work with—and yep, super budget-friendly.
So grab your gloves and your favorite playlist. Let’s turn that plain backyard into a space you’ll want to hang out in.
Why Choose DIY Patio Pavers?
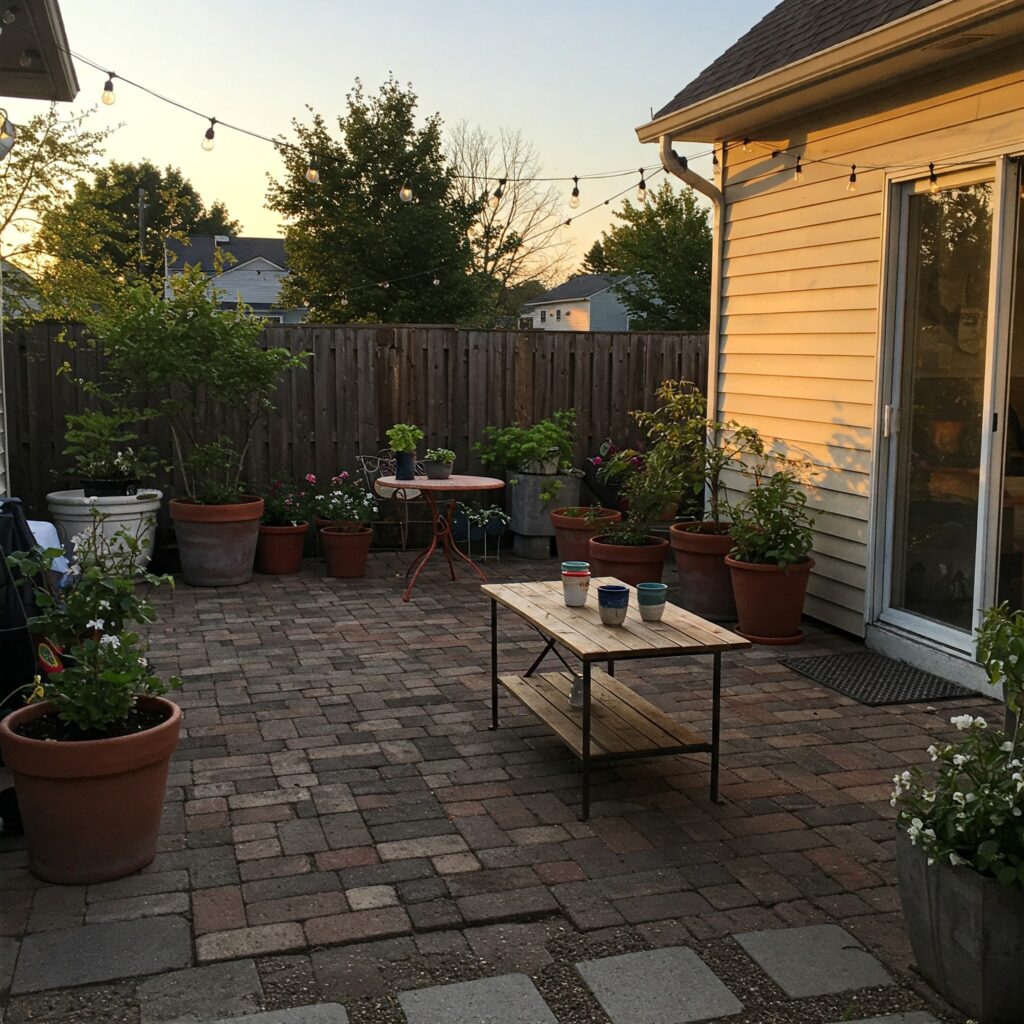
Let’s be real: hiring a contractor can cost thousands, and even pre-made patio kits can burn a hole in your wallet. DIY patio pavers, on the other hand?
- Affordable (Seriously—some options cost less than $2 a square foot!)
- Customizable (You choose the shape, size, and pattern)
- Satisfying (There’s nothing like standing on a patio you built yourself)
Plus, you don’t need a ton of fancy tools. If you’ve got a shovel, a level, and a free weekend, you’re good to go.
Budget-Friendly DIY Patio Paver Ideas
1. Gravel + Stepping Stone Combo (The Lazy Genius Hack)
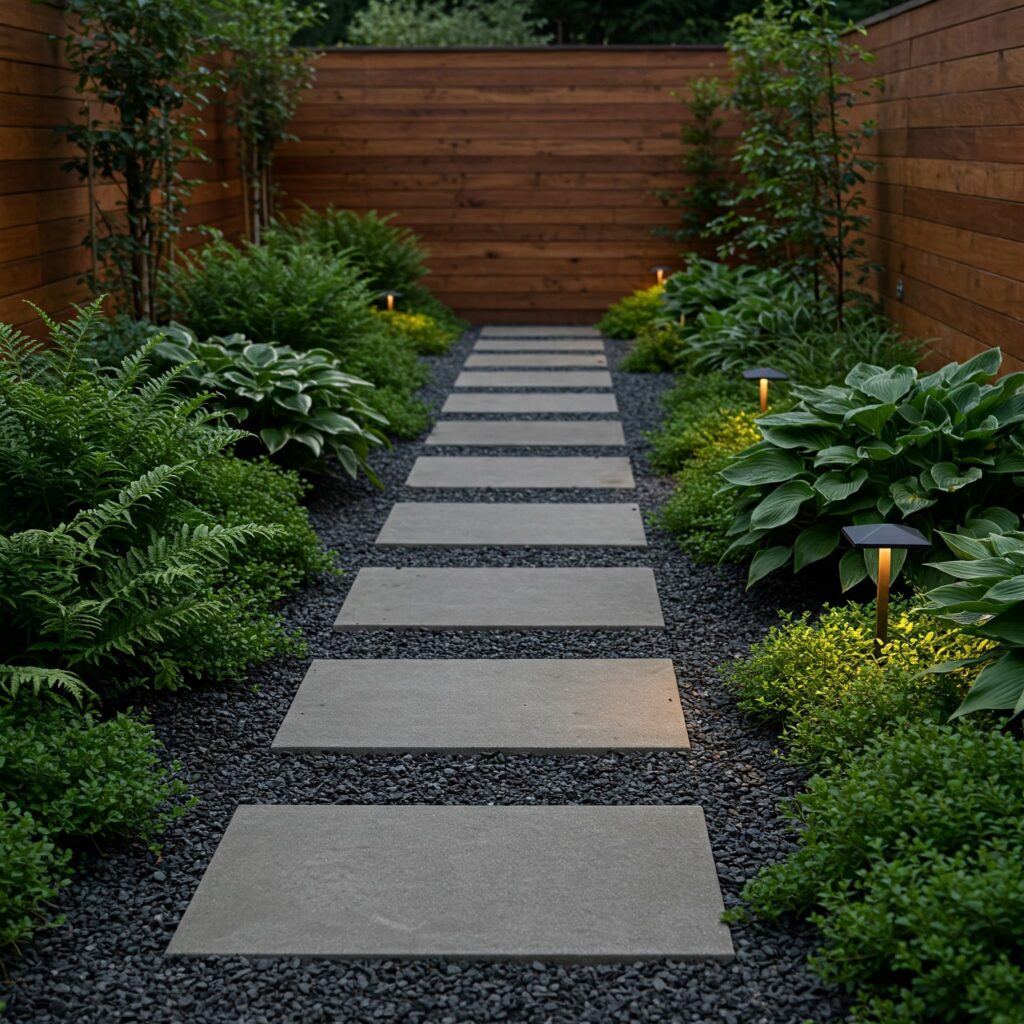
This one’s my personal favorite. It’s quick, cheap, and still looks high-end.
What you’ll need:
- Inexpensive concrete pavers or large stepping stones
- Landscape fabric
- Gravel or pea stone
How to do it:
- Lay down the fabric to block weeds.
- Arrange your pavers with some space between them.
- Fill the gaps with gravel.
It’s low-maintenance and gives you that modern garden feel without breaking a sweat—or your budget.
2. Brick-Style Pavers for a Classic Look
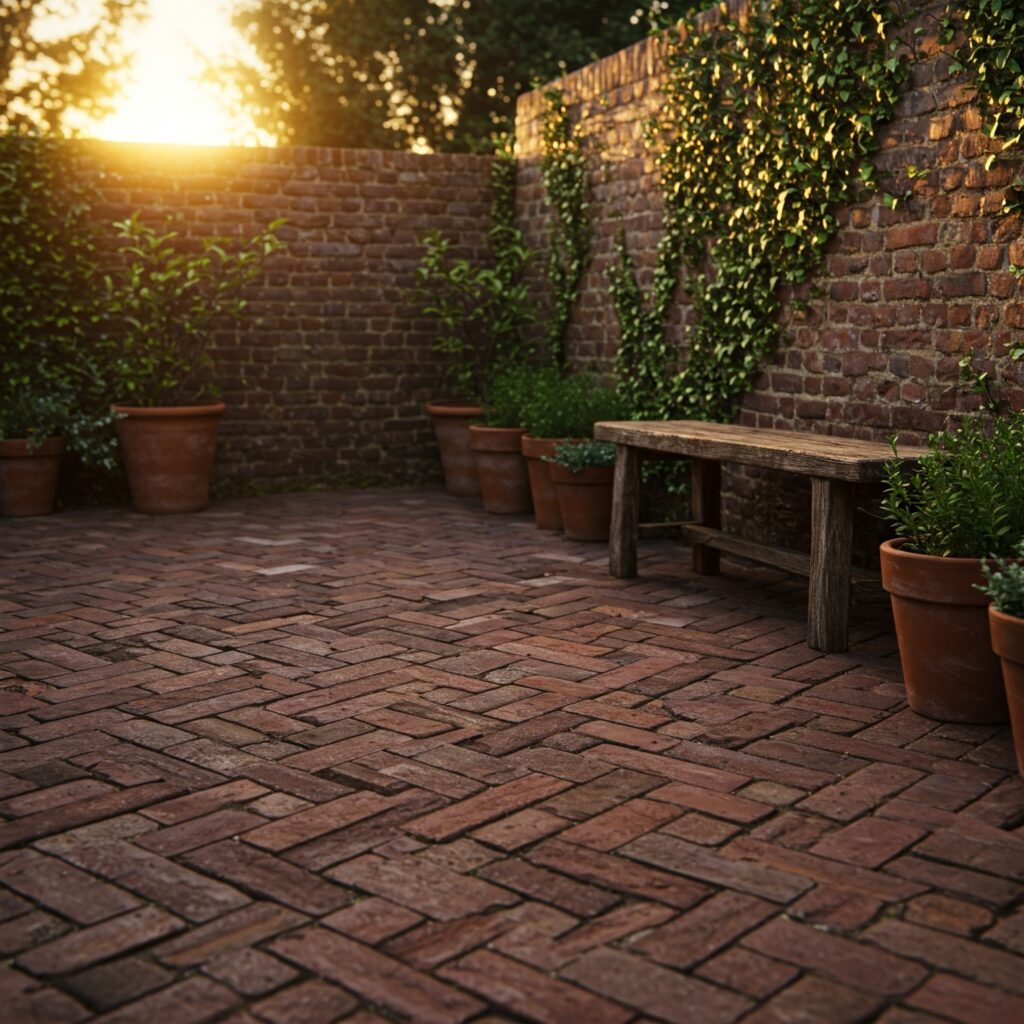
You can usually find used bricks on Facebook Marketplace or at your local salvage yard.
Why it works:
- Bricks add a timeless, charming vibe.
- They’re easy to lay in fun patterns (hello, herringbone!).
Money-saving tip: Check for leftover stock at hardware stores—they often discount odd-lot pallets.
3. Concrete Molds: The Hidden Gem of DIY Projects
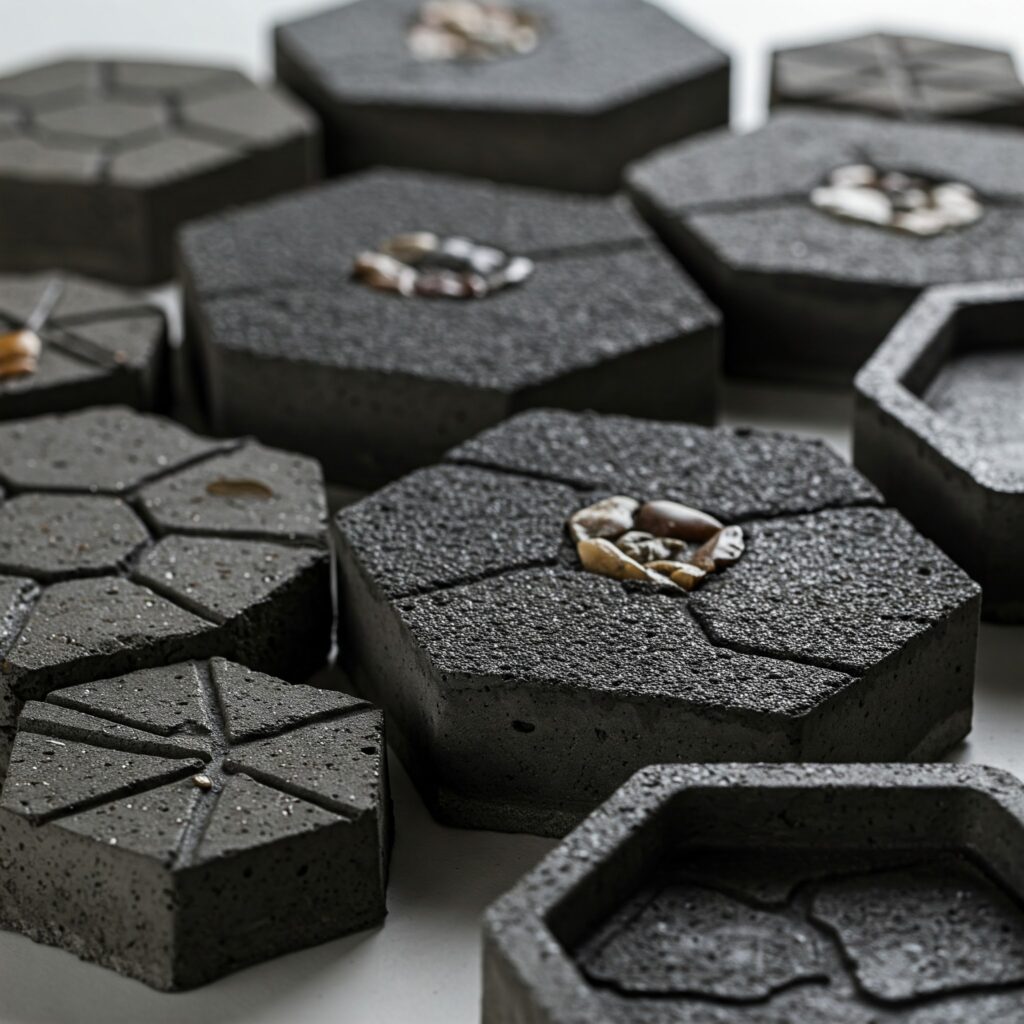
Ever heard of paver molds? They’re reusable plastic forms that you fill with concrete mix.
Why I love them:
- You can get really creative with shapes and colors.
- One mold = endless possibilities.
Pro tip: Mix in some charcoal dye or sprinkle in decorative stones for a custom finish.
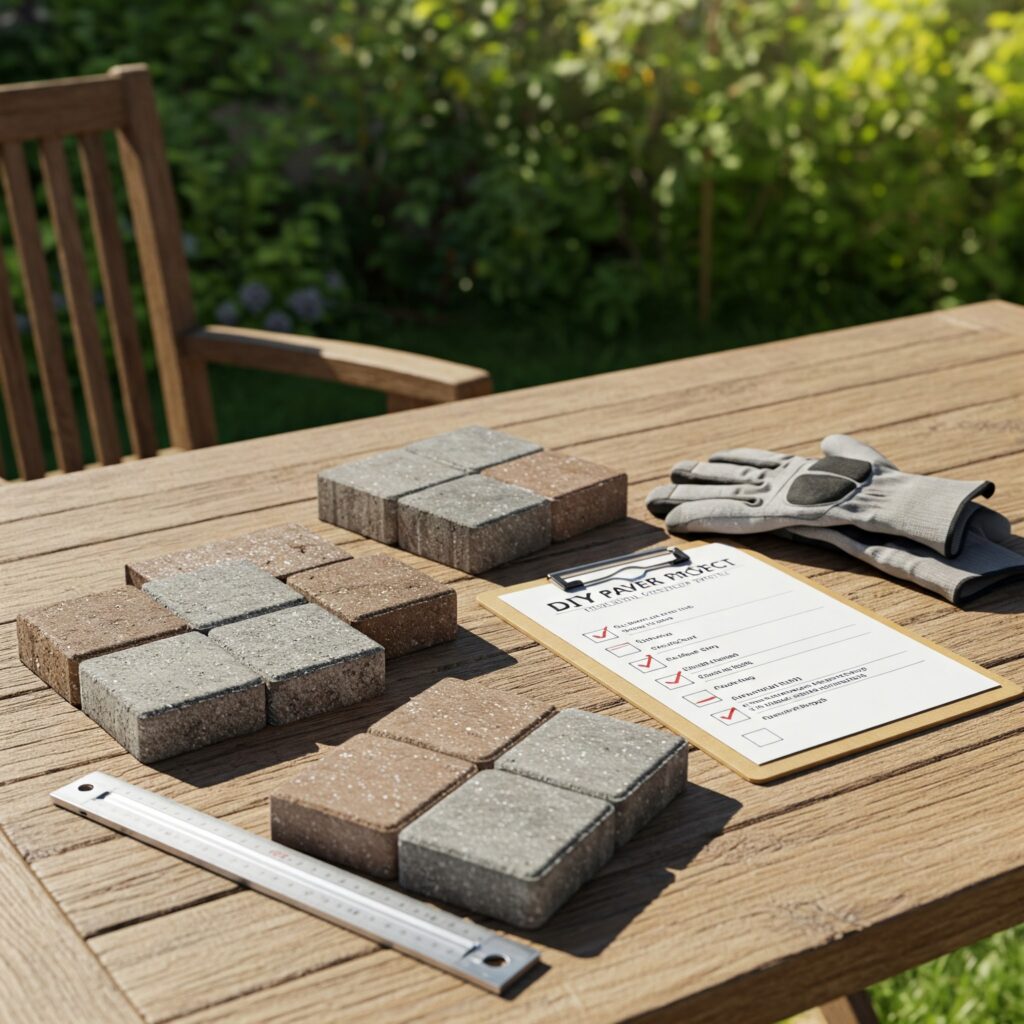
4. Mix-and-Match Paver Patterns
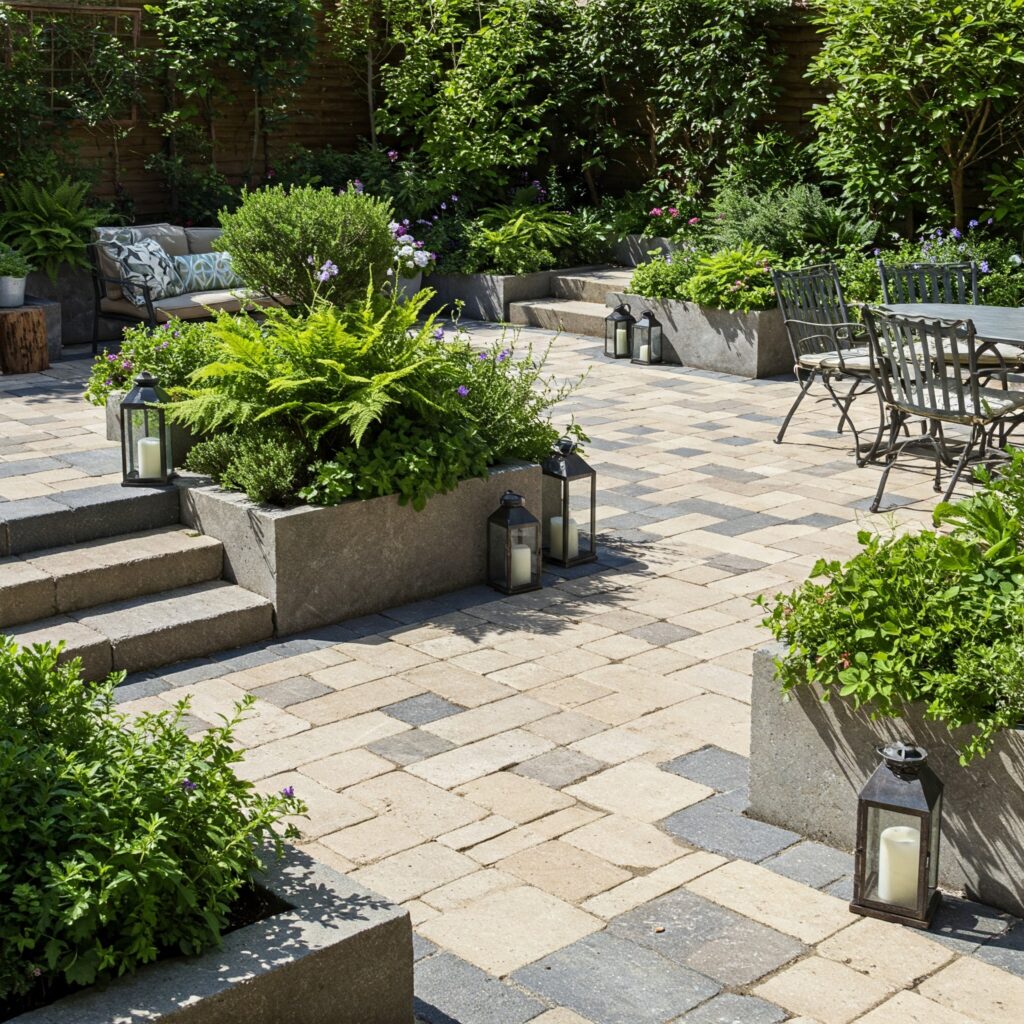
Not everything needs to be matchy-matchy.
Try combining:
- Square pavers with round ones
- Light and dark tones
- Big blocks with smaller accents
This saves money (by using what you’ve got) and gives a cool, eclectic look that feels designer-inspired.
5. Use Sand as a Base to Skip the Concrete
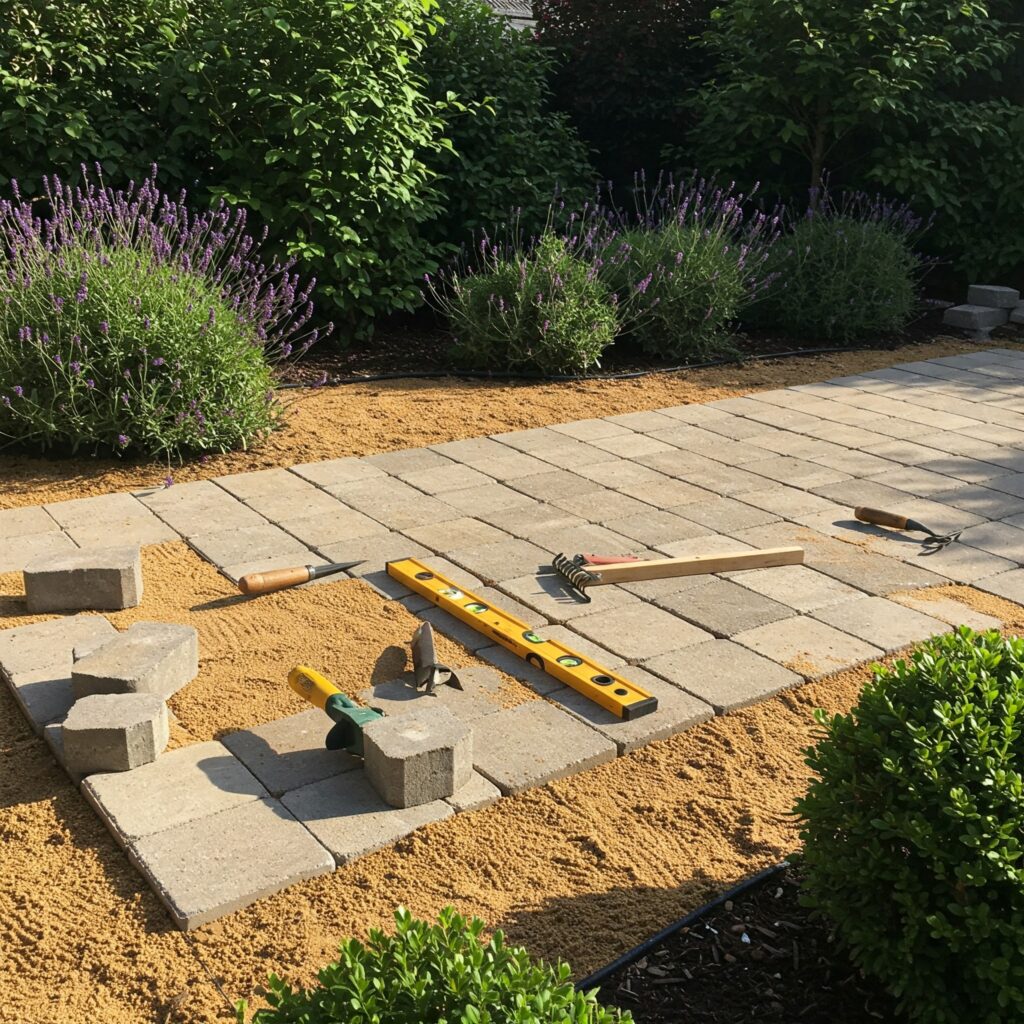
If you’re not ready to commit to permanent concrete, laying pavers on a sand base is a fantastic shortcut.
How to:
- Level your area with a rake.
- Lay a thick layer of paver sand.
- Place your pavers snugly, and use a rubber mallet to set them.
It’s budget-conscious and can be adjusted easily if you change your mind later (which—let’s be honest—we often do).
My Personal Patio Wins (and Mistakes to Avoid)
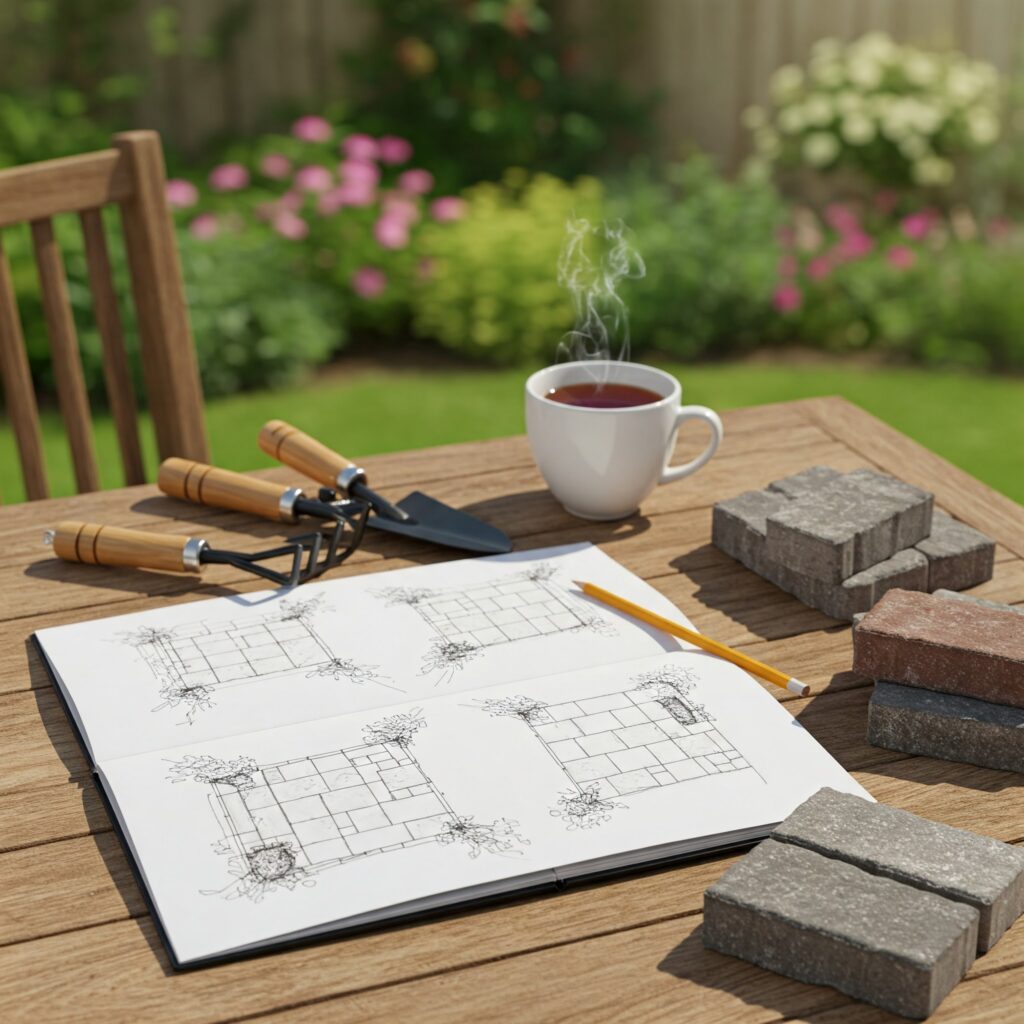
What worked for me:
- Sketching the layout on paper before buying anything
- Checking local garden centers for clearance pavers
- Doing a small “test patch” before going all in
What I’d never do again:
Try to level an entire area without a tamper. My patio turned into a weird, wavy funhouse floor. Invest the $30 or rent one—it’s so worth it.
FAQs About DIY Patio Pavers
Q: Can I really build a paver patio without concrete?
Absolutely! A sand or gravel base works just fine for most small-to-medium projects. Just make sure it’s compacted and level.
Q: How long do DIY paver patios last?
If installed properly with a good base and edge restraints, they can last 10+ years—even longer with occasional maintenance.
Q: Are DIY patio pavers beginner-friendly?
100%! You’re more than capable if you can follow a YouTube tutorial and measure things twice. Start small and build confidence.
You’ve Got This—Your Dream Patio Is Closer Than You Think
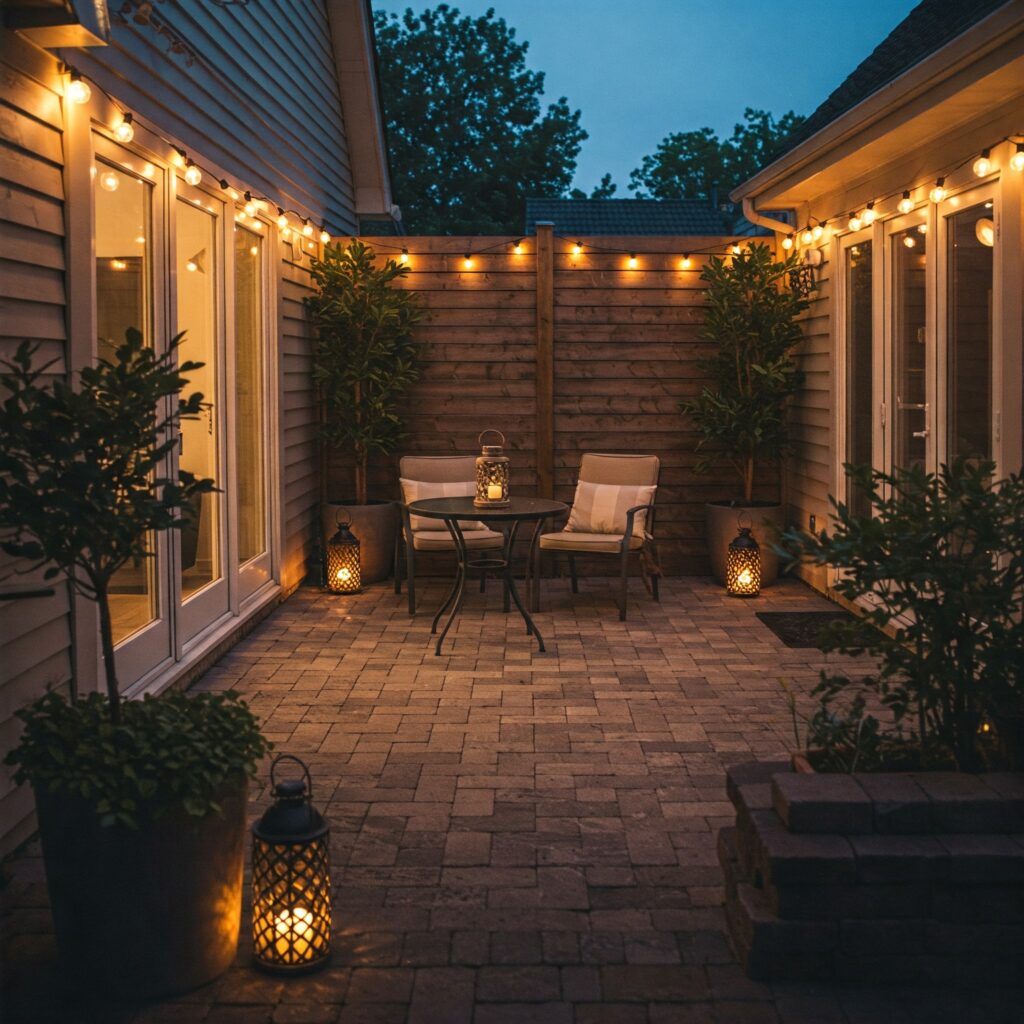
Transforming your outdoor space doesn’t require a contractor or a crazy budget—just a little vision, some sweat, and a few well-placed patio pavers.
Whether you’re making a chill reading nook, a firepit hangout zone, or a cozy dinner spot under the stars, remember: you’re building more than a patio—you’re creating memories.
Got a patio plan in mind? Drop a comment—I’d love to hear what you’re working on. Or better yet, share your progress! Trust me, there’s something special about showing off a space you created with your own two hands.
