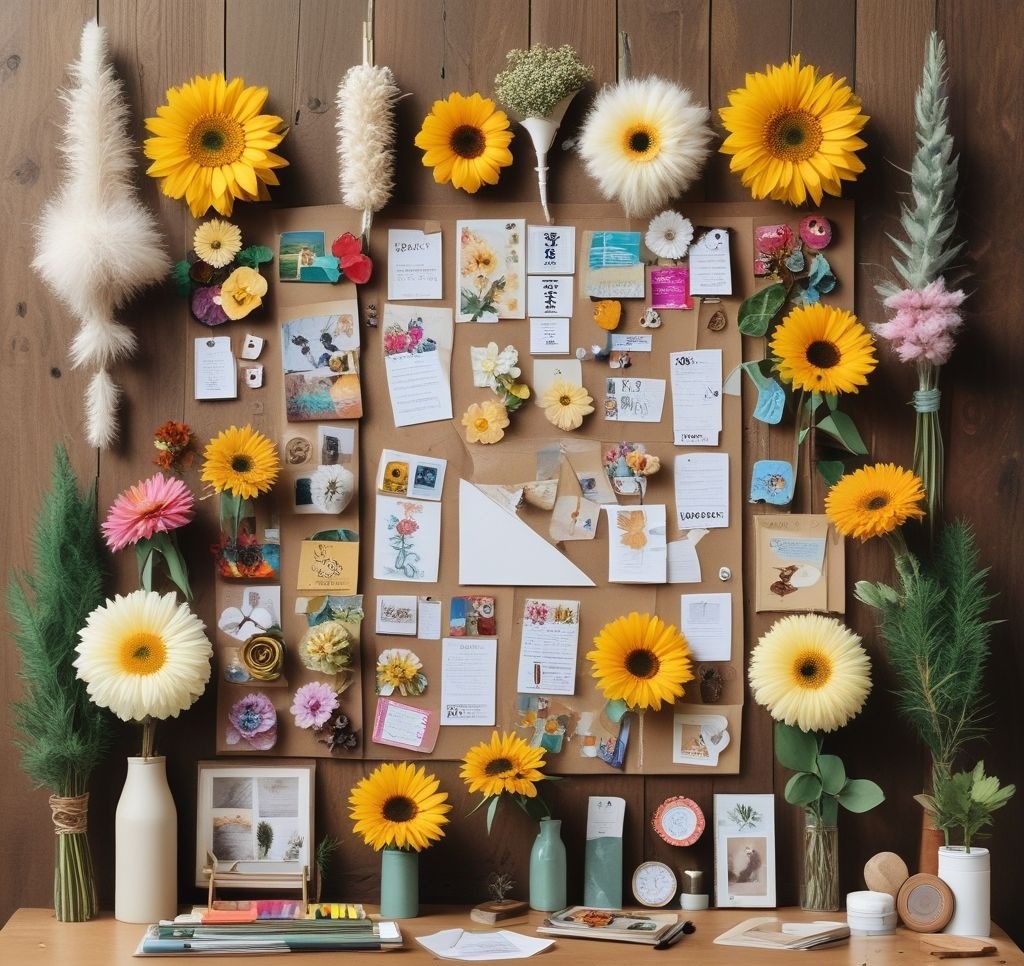
If you’re anything like me, you love adding a touch of creativity to your workspace, home office, or even your classroom. A flower bulletin board is the perfect way to brighten up any space, keeping things organized while also looking stunning. The best part? You don’t need to spend a fortune to make one!
Today, I’ll walk you through a step-by-step guide on how to create a gorgeous DIY flower bulletin board that reflects your personality and style. Whether you want something elegant, rustic, or colorful, this project is completely customizable. Let’s dive in!
Why a Flower Bulletin Board? 🌸
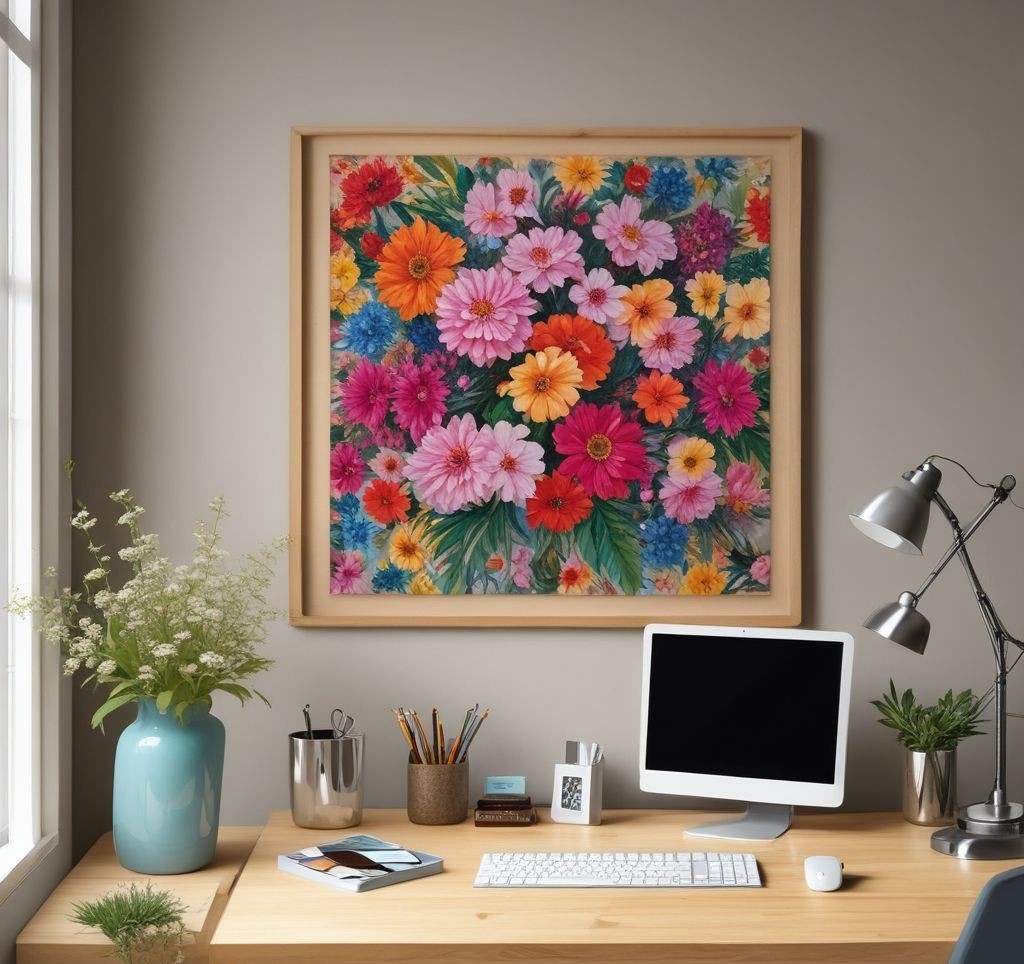
Before we get into the nitty-gritty, let’s talk about why a flower bulletin board is a must-have for your space.
✅ Adds a pop of color – No more dull walls or boring workspaces!
✅ Keeps you organized – Pin your notes, reminders, and inspirational quotes.
✅ Boosts creativity – A beautiful workspace = more motivation and productivity!
✅ Easy & budget-friendly – A DIY project that doesn’t break the bank.
Now that we’re convinced (because, honestly, who wouldn’t be?), let’s get to work!
Step 1: Gather Your Materials
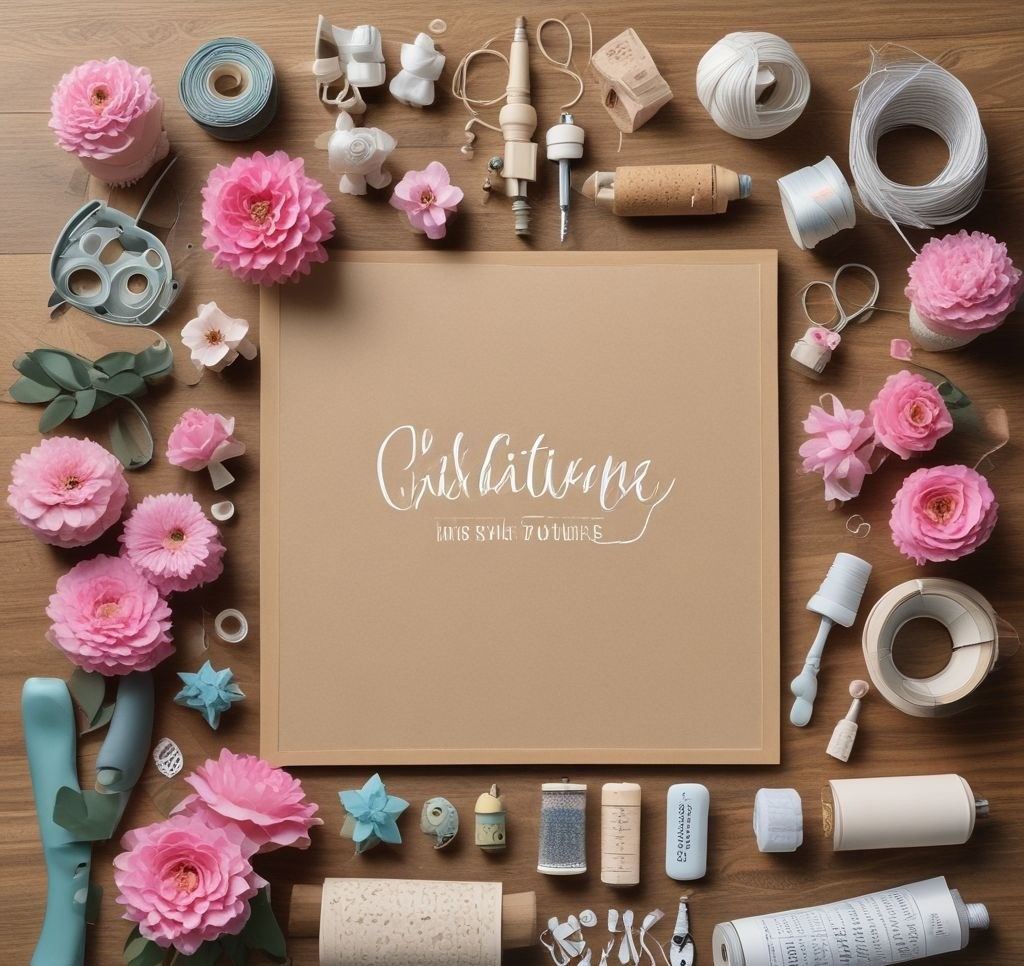
Here’s what you’ll need:
- A bulletin board (corkboard, fabric-covered, or magnetic)
- Artificial flowers (roses, sunflowers, daisies – whatever matches your theme)
- Hot glue gun & glue sticks
- Scissors
- Floral wire (optional)
- Push pins or thumbtacks
- Decorative tape or ribbon
- Printable quotes or aesthetic photos
You can easily find these supplies at a local craft store, online, or even repurpose materials you already have at home.
Step 2: Choose a Theme for Your Board
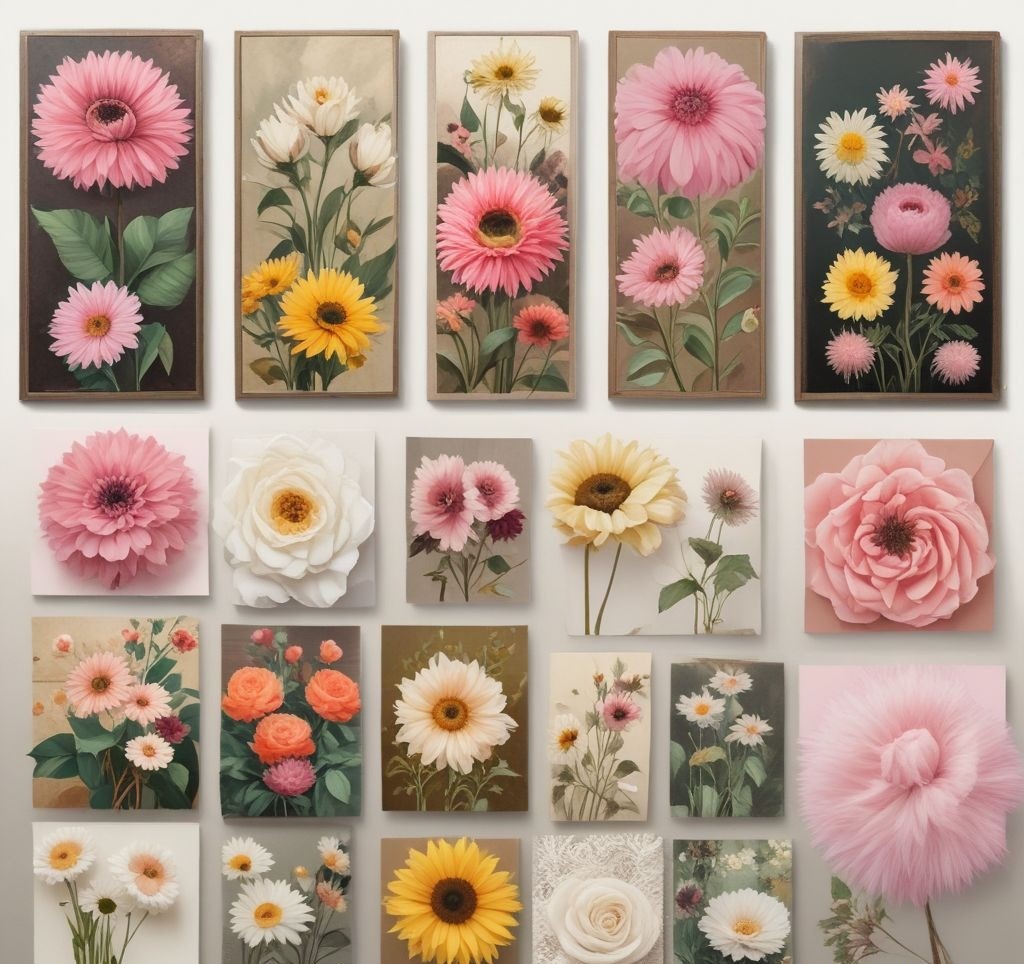
Before gluing anything down, decide on the theme of your flower bulletin board. Here are a few ideas:
🌿 Minimalist & Elegant: Neutral tones, white flowers, and soft greenery.
🌻 Bright & Cheerful: Sunflowers, daisies, and bold, happy colors.
💖 Romantic & Vintage: Soft pink roses, lace details, and delicate designs.
🌾 Boho Chic: Dried flowers, pampas grass, and earthy tones.
Once you pick your theme, arranging the flowers will be so much easier!
Step 3: Attach the Flowers to Your Board
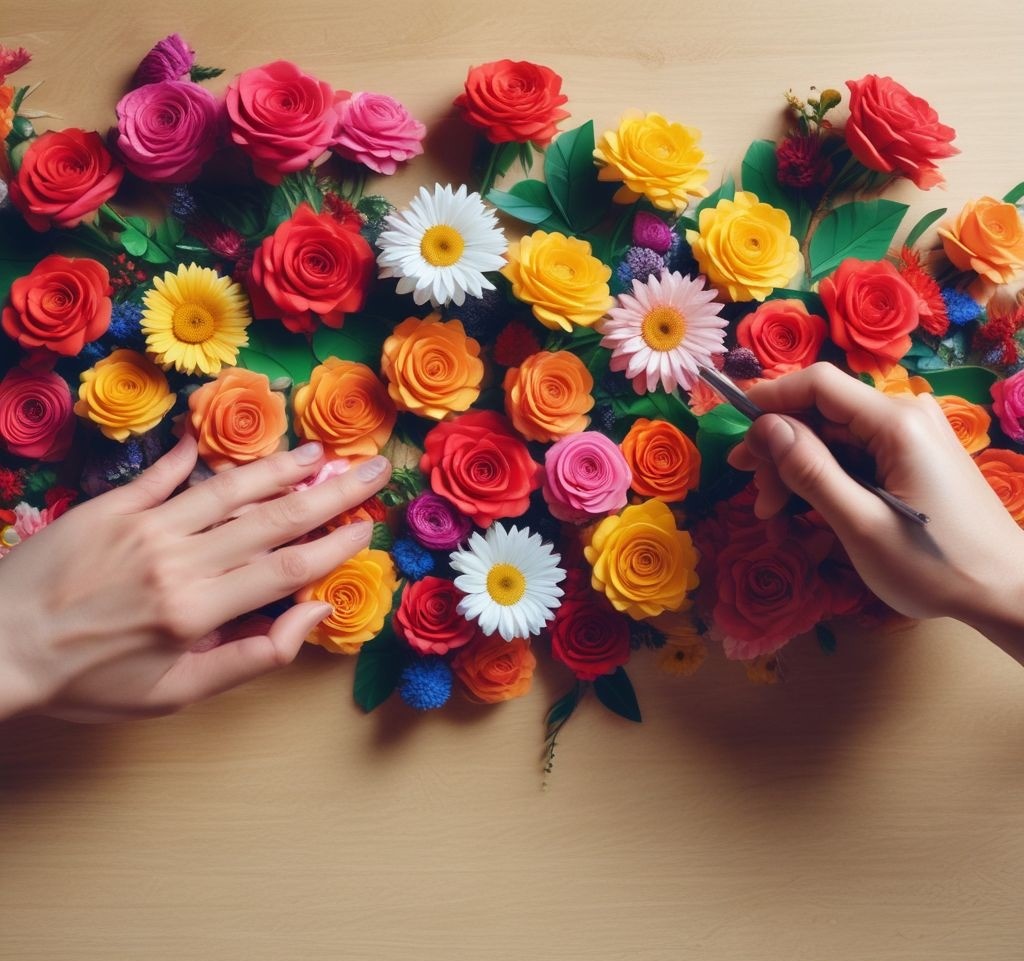
Now, let’s get creative! Follow these steps to decorate your board beautifully:
🌸 Option 1: Floral Border Design
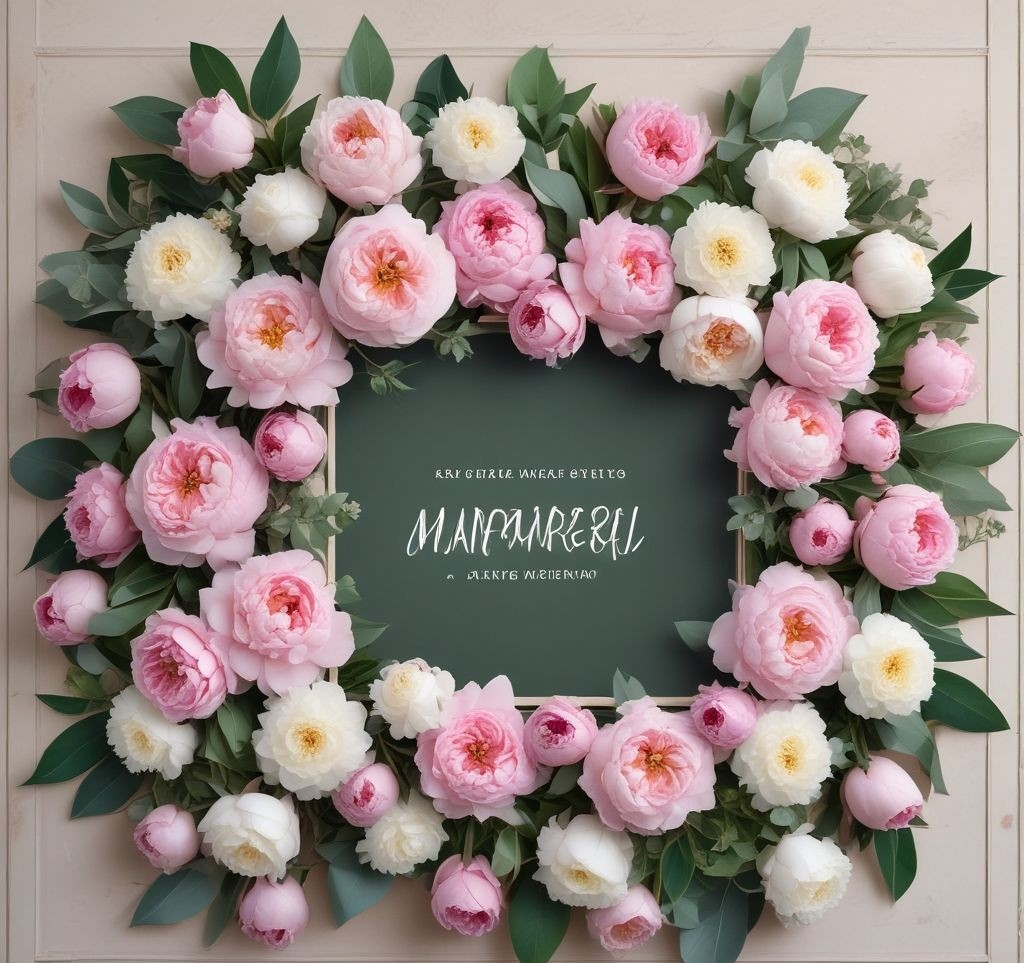
- Lay out your flowers around the edges of your board to create a border.
- Use a hot glue gun to secure each flower, making sure to mix in greenery for a natural look.
- Let the glue dry completely before moving on.
💐 Option 2: Flower Clusters in Corners
- Arrange flowers in two opposite corners for an elegant, less cluttered look.
- Attach them using hot glue or floral wire if you want them to be removable.
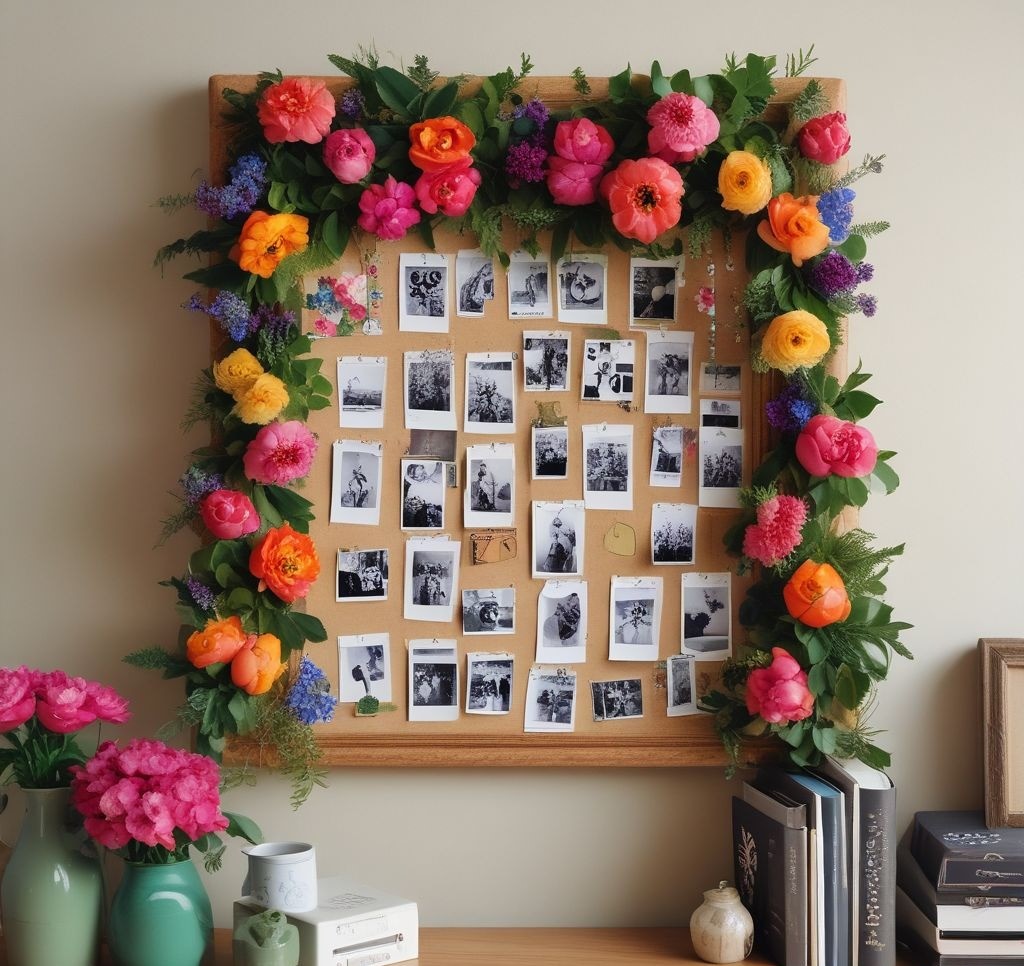
🌿 Option 3: Full Floral Frame
- Completely cover the edges with flowers to give your board a framed effect.
- Add some hanging vines or small LED fairy lights for extra charm.
Step 4: Add Functional & Decorative Elements
Now that our floral decorations are in place, let’s make the board both useful and stylish!
✅ Use cute push pins – Find gold, pastel, or floral-themed push pins to match.
✅ Pin aesthetic notes & reminders – Add personal touches like motivational quotes, to-do lists, or a mini calendar.
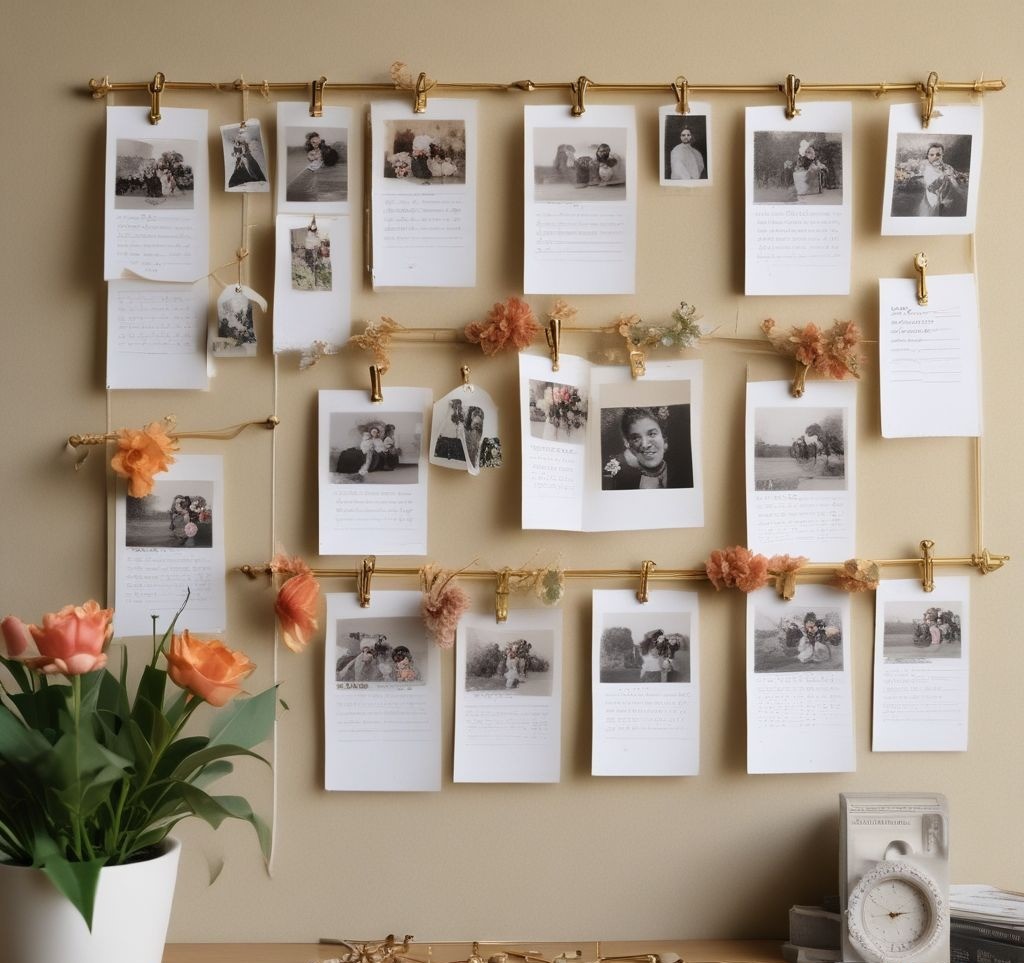
✅ Incorporate ribbon or twine – Hang pictures or notes using mini clothespins for a scrapbook-style effect.
✅ Layer decorative paper – Add colored or patterned paper as a backdrop for contrast.
This step makes the board functional while still looking absolutely Pinterest-worthy!
Step 5: Hang & Style Your Bulletin Board
Now for the final touch—where to display your masterpiece!
📍 Above your desk – Keeps you inspired while working.
📍 In your entryway – A great spot for reminders and notes.
📍 In a dorm room – Makes a small space feel more personal and cozy.
📍 In a classroom – Adds warmth and creativity to any learning space.
Once you’ve found the perfect spot, step back and admire your DIY floral bulletin board—you’ve just created something beautiful and functional!
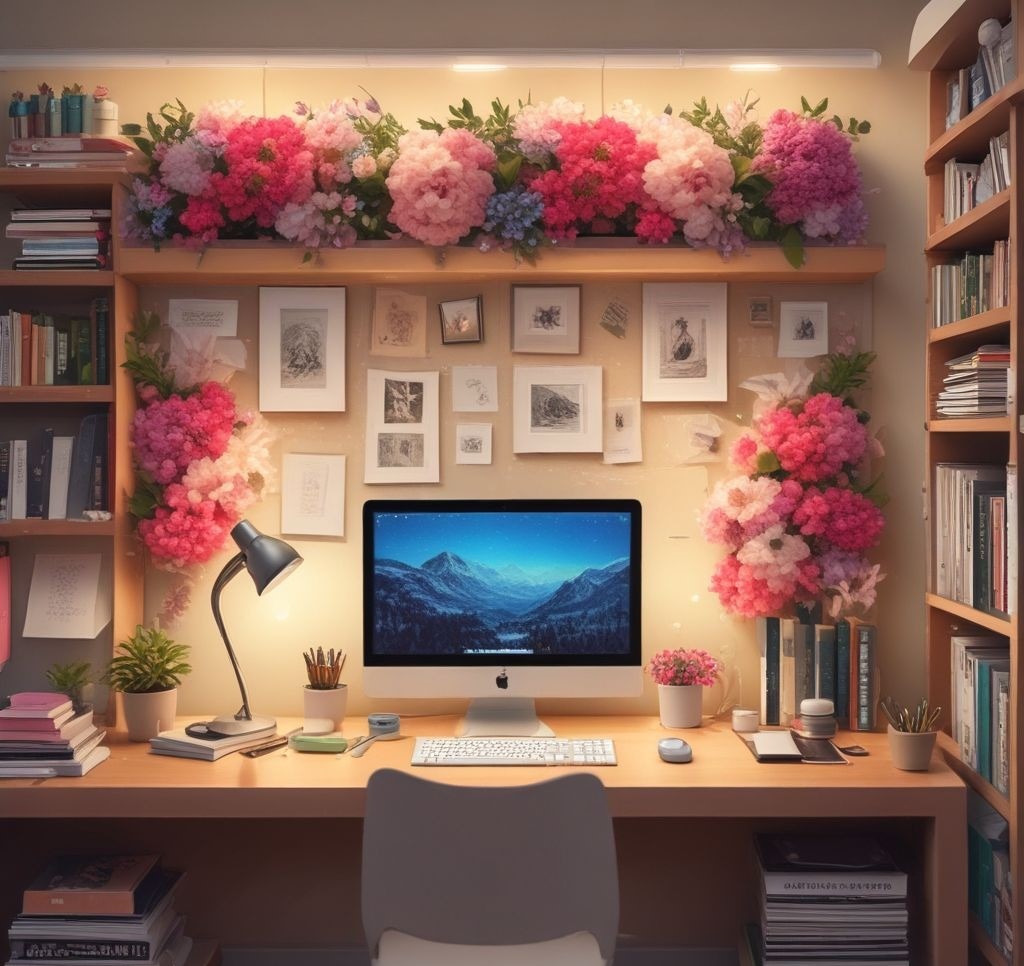
I absolutely love how easy and budget-friendly this DIY project is! A flower bulletin board not only keeps you organized but also adds a unique decorative touch to your space. Plus, since it’s completely customizable, you can switch up the flowers and colors depending on the season!
So, what theme are you going for? Let me know in the comments! I’d love to see your DIY creations. Happy crafting! 🌸✨
