
Expanding your patio is one of the most rewarding home improvement projects you can take on. Not only does it add value to your property, but it also creates more room to enjoy the outdoors. Whether you’re dreaming of hosting larger gatherings, creating a serene retreat, or just having more usable outdoor space, extending your patio can make those visions a reality. When I decided to extend mine, I learned a lot along the way, so I’m here to share my experience with you!
In this step-by-step guide, I’ll walk you through how to plan, design, and execute your patio extension while avoiding the common pitfalls that many homeowners face.
Step 1: Assess Your Current Space and Needs

Before diving into the project, take a good look at your existing patio. What works? What doesn’t? I found myself frustrated with limited seating space, so I knew I wanted to expand for more functionality. Think about what you want to achieve: more dining space, a cozy lounge area, or room for a fire pit.
Also, measure your existing patio and decide how much larger you want it to be. Consider the layout of your yard and the flow between your indoor and outdoor spaces.
Step 2: Set Your Budget

Patio extensions can range from a simple DIY project to a full-scale construction job with professional help. Setting a budget early helped me stay focused on what was feasible without overspending. Don’t forget to factor in materials, labor (if hiring professionals), and additional features like furniture, lighting, or landscaping.
Step 3: Choose the Right Materials
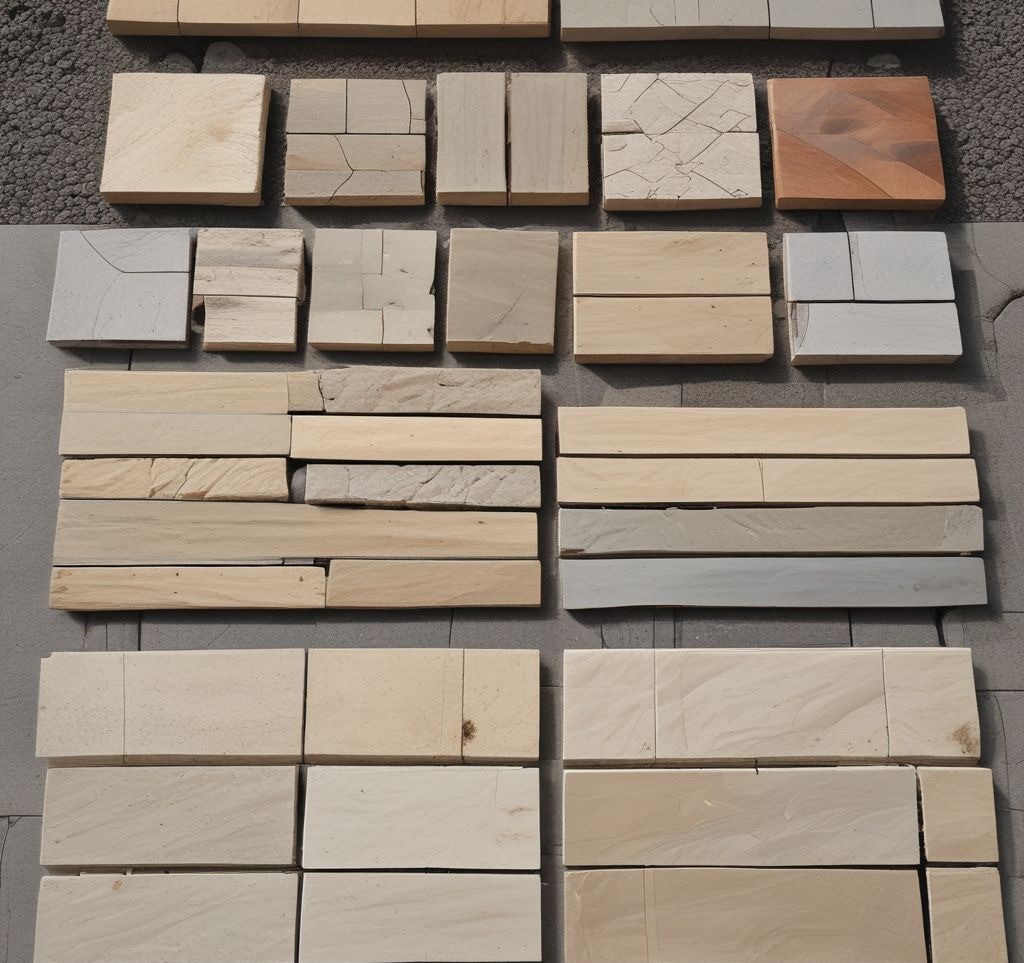
Selecting materials that complement your home’s aesthetic and suit your climate is crucial. For my project, I chose concrete pavers because they’re durable and easy to maintain, but you might prefer natural stone, wood, or composite decking.
If you’re unsure, gather samples and visualize how they’ll look with your existing patio. Keep in mind the maintenance required—wood looks stunning but needs regular sealing, while concrete is more low-maintenance.
Step 4: Create a Design Plan
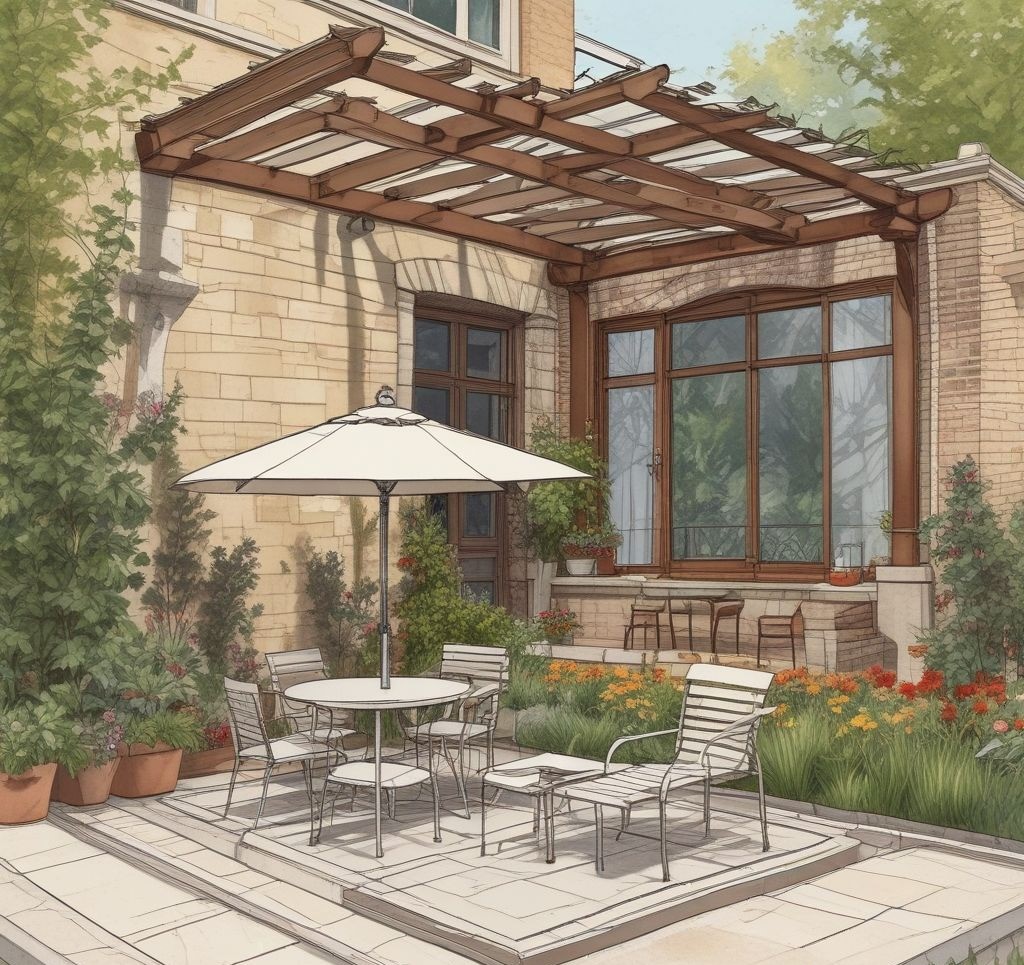
Now comes the fun part—designing your dream patio! Sketch out your vision, or better yet, use design software to see how the extension will look. I included a mix of seating zones and a small vertical garden to add life to the space.
Think about:
- Seating Arrangements: Do you need space for a dining set, a lounge area, or both?
- Shade Options: Will you add a pergola, umbrellas, or a retractable awning?
- Pathways and Flow: Ensure there’s a clear path from your home to the extended area.
Step 5: Get the Necessary Permits

This step might seem tedious, but it’s essential. Some cities and neighborhoods require permits for patio extensions, especially if you’re pouring concrete or changing drainage systems. I checked with my local municipality and HOA to avoid future headaches.
Step 6: Prepare the Site
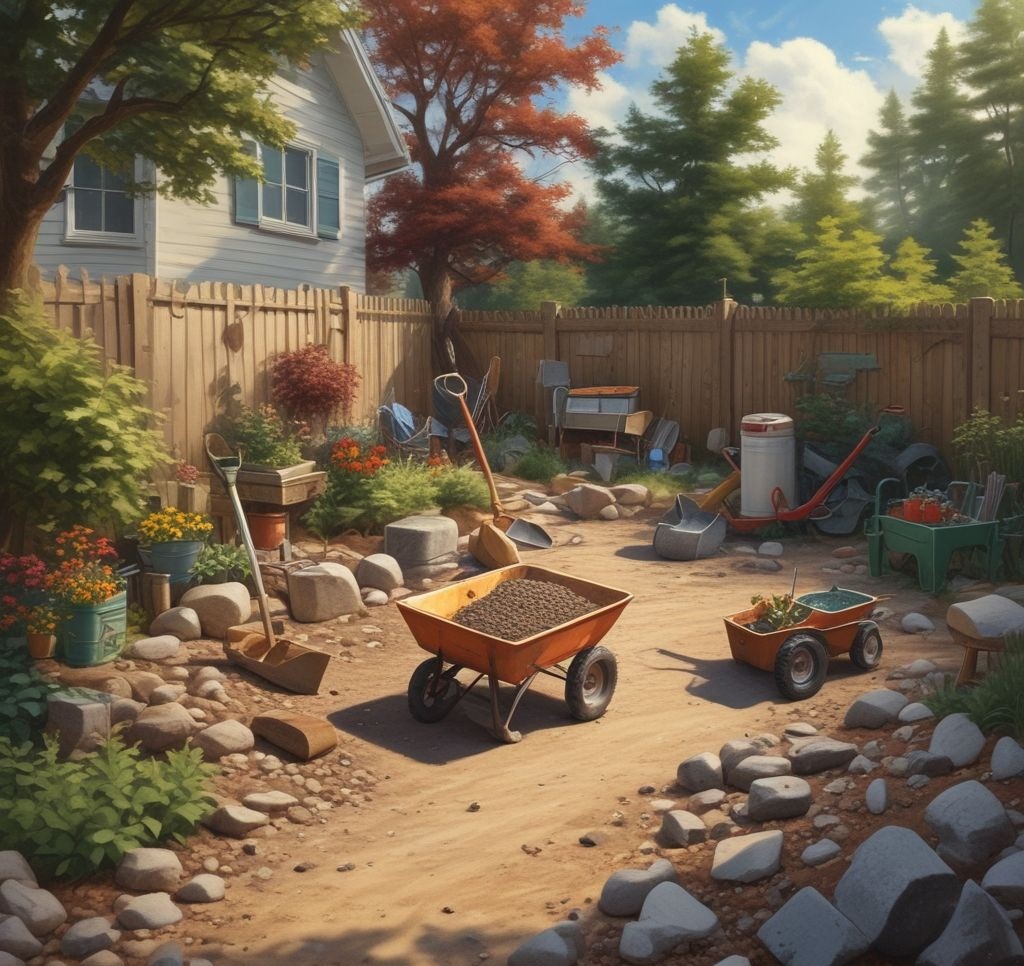
Preparing the site is crucial for a smooth build. Start by clearing the area of grass, debris, and rocks. I rented a sod cutter to make the process easier. Once the area was clear, I leveled the ground and added a layer of gravel to ensure proper drainage.
Step 7: Lay the Foundation

The foundation is the backbone of your patio, so take your time here. Depending on your chosen material, you might pour a concrete slab, lay gravel, or install pavers. For my paver patio, I followed these steps:
- Spread a layer of sand over the gravel base.
- Lay the pavers in the desired pattern, ensuring they’re level.
- Fill gaps with polymeric sand and seal the surface for durability.
Step 8: Add Features and Finishing Touches

Here’s where your patio truly comes to life! Once the main structure is complete, it’s time to add personality. I added outdoor furniture, a fire pit, and string lights to create a cozy vibe. If you’re adding a pergola or outdoor kitchen, ensure those are installed securely.
Step 9: Landscape Around Your Patio
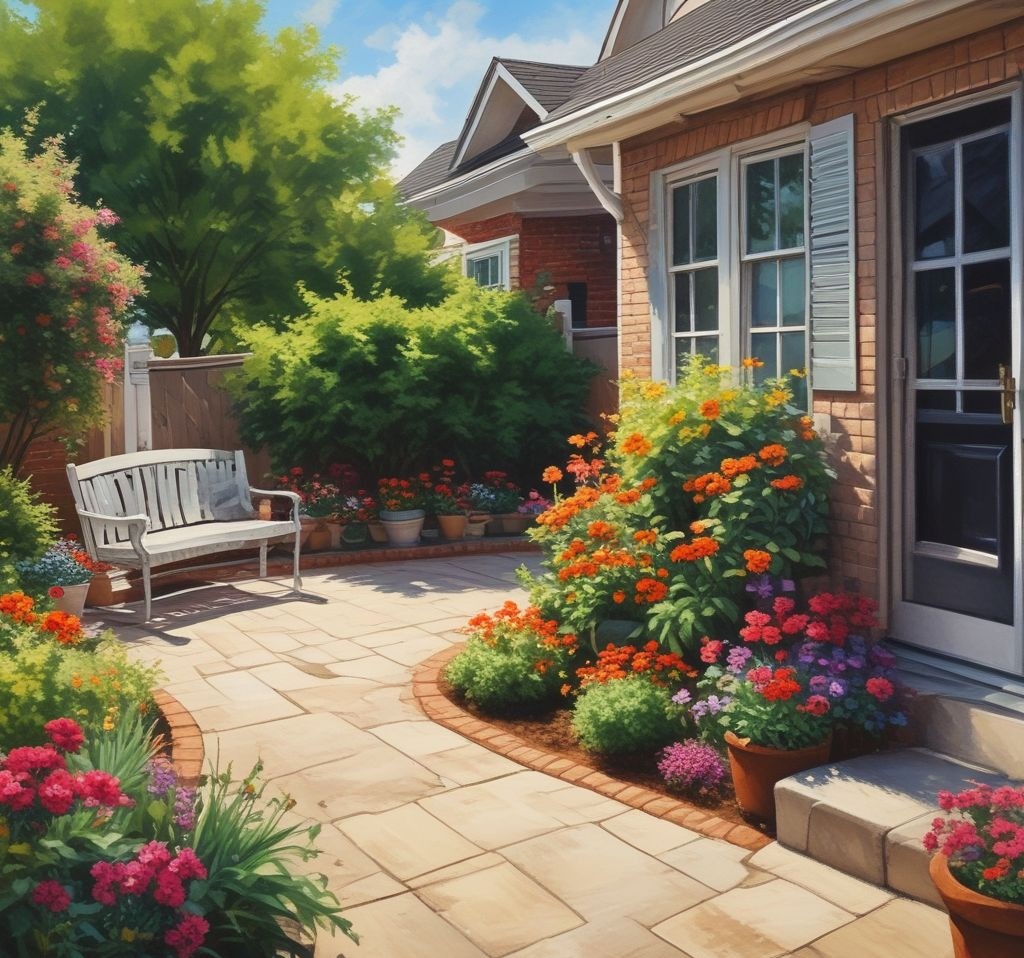
To blend your new patio extension with the rest of your yard, consider landscaping. I planted shrubs and flowers around the edges and added potted plants for a touch of greenery. This step not only enhances the look but also creates a seamless transition between the patio and your outdoor space.
Step 10: Maintain Your New Patio

After putting in all that effort, you’ll want to keep your patio looking its best. Regularly sweep and clean the surface, especially after storms or heavy use. If you choose materials like wood, remember to reseal them annually to prevent damage.
Why Extending Your Patio Is Worth It

When I finally finished my patio extension, I couldn’t believe the difference it made. It turned my outdoor space into a functional and beautiful area that I now use all the time. Whether I’m hosting friends or enjoying a quiet evening with a book, the extra space has been a game-changer.
If you’re considering extending your patio, I say go for it! With a little planning, patience, and effort, you’ll have a space that you’ll love for years to come.
SEO-Friendly Tips for Your Patio Extension
- Use keywords like “patio extension ideas,” “DIY patio project,” and “how to extend a patio” to help your article rank higher.
- Optimize images with descriptive alt text, such as “patio with pergola and outdoor seating.”
- Incorporate related terms like “outdoor living space” and “backyard upgrades” naturally throughout the article.
HAPPY DIYING!!