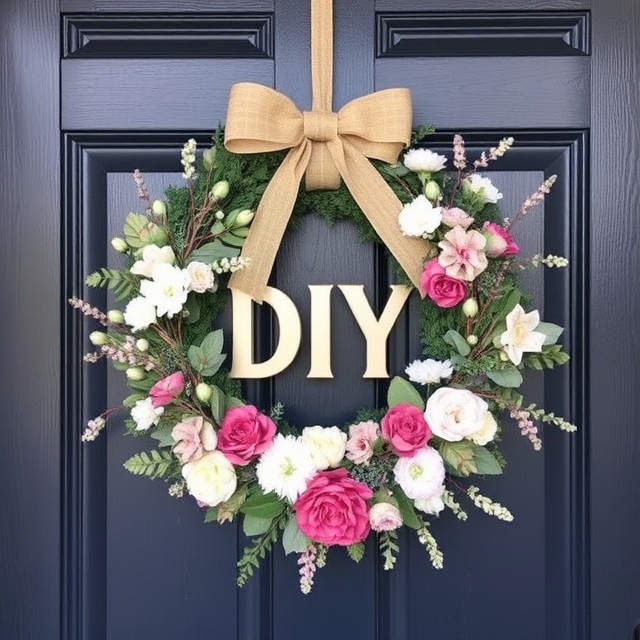
Fall is my absolute favorite season. There’s something magical about the crisp air, the crunch of leaves underfoot, and the rich, warm colors everywhere. When fall rolls around, I get the urge to bring some of that beauty into my home, and one of the easiest ways to do that is with a stunning fall wreath.
Wreaths aren’t just for Christmas, and they’re not as complicated as they might seem. With a little creativity, you can make your own fall wreath that’s not only affordable but also uniquely yours. Here, I’ll share some of my favorite DIY fall wreath ideas, along with step-by-step tips and tricks I’ve picked up over the years.

Why Make Your Own Fall Wreath?
I used to buy wreaths from stores, but they often felt impersonal and a little too pricey for what they were. Then one year, I decided to try making my own—and I was hooked. Here’s why I love DIY wreaths:
- Customizable: You can tailor them to your style and color scheme.
- Affordable: Many materials can be found in nature or repurposed from items you already have.
- Creative Outlet: It’s incredibly satisfying to see something you’ve made hanging proudly on your door.
- Impressive: Guests are always wowed by a handmade wreath.
What You’ll Need
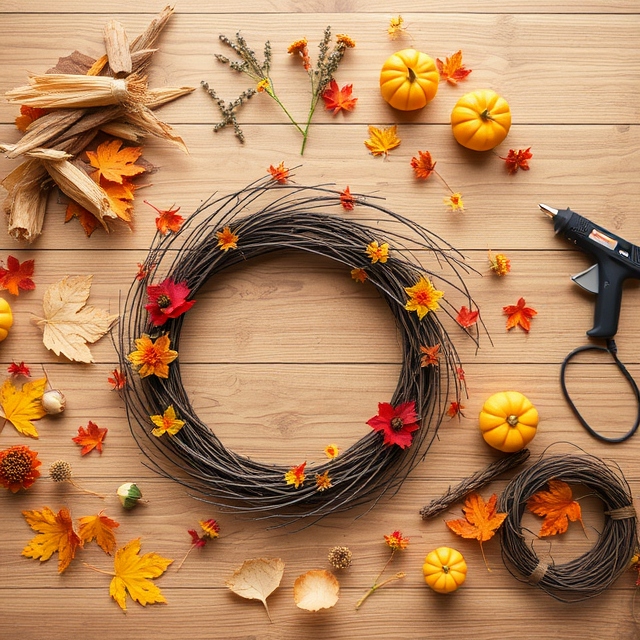
Before we dive into specific ideas, here’s a general list of materials that come in handy for making a fall wreath:
- Base: Grapevine, wire, foam, or even a metal hoop.
- Foliage: Faux leaves, eucalyptus, or real fall foliage from your yard.
- Decorative Elements: Pinecones, mini pumpkins, berries, acorns, dried flowers, or corn husks.
- Ribbon: Burlap, satin, or plaid ribbons for bows or accents.
- Glue Gun: A hot glue gun is your best friend for wreath-making.
- Wire or Floral Tape: To secure items in place.
Simple DIY Fall Wreath Ideas
1. Classic Fall Foliage Wreath
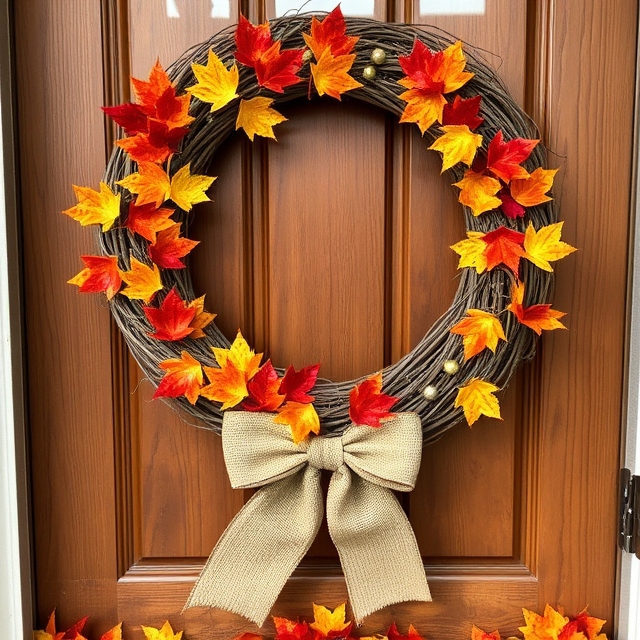
This is a timeless option that never goes out of style.
How to Make It:
- Start with a grapevine wreath base.
- Gather artificial or real fall leaves in shades of red, orange, and yellow.
- Use a hot glue gun or floral wire to attach the leaves, overlapping them slightly for a layered look.
- Add a burlap bow at the bottom for a rustic touch.
Personal Tip: I love incorporating a mix of real and faux elements. The real leaves add authenticity, while the faux ones keep it looking full and fresh all season.
2. Minimalist Eucalyptus and Berry Wreath
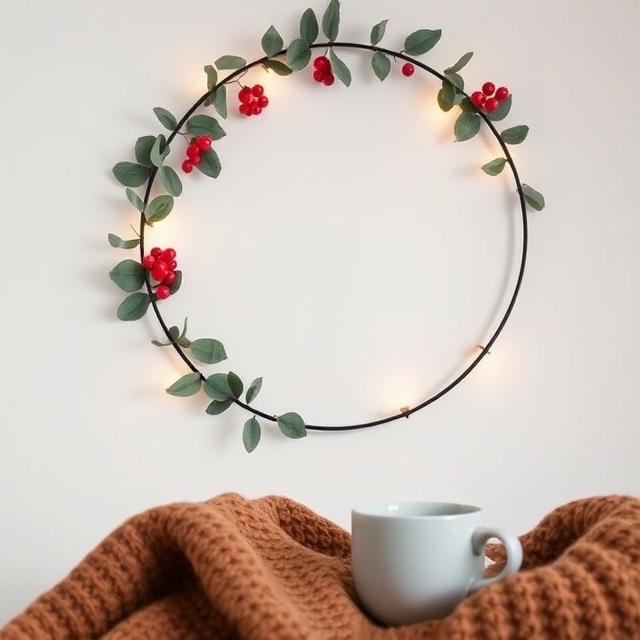
For a more modern and subtle look, go with eucalyptus and berries.
How to Make It:
- Use a metal hoop as the base.
- Wrap faux eucalyptus stems around half the hoop, securing them with floral tape.
- Add clusters of red or orange berries for a pop of color.
- Leave part of the hoop exposed for a sleek, minimalist aesthetic.
Why I Love It: This design is elegant and works well indoors as well as outdoors. It’s also a great base to transition into a winter wreath later.
3. Pumpkin and Pinecone Wreath
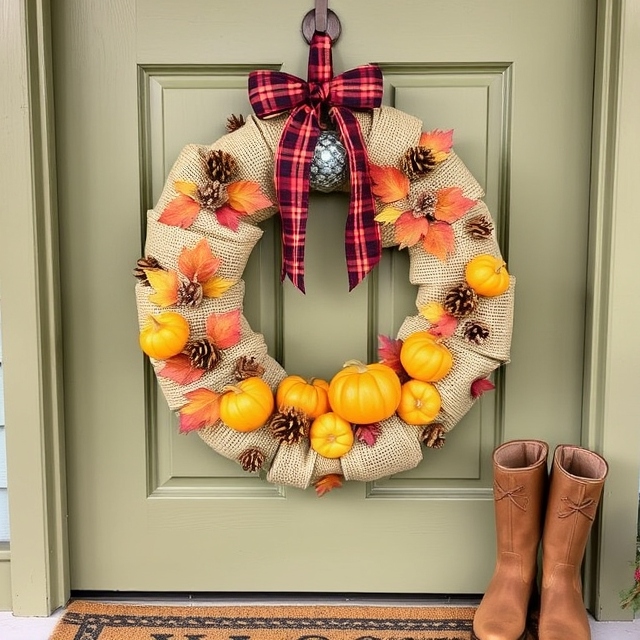
Bring a bit of the pumpkin patch to your door!
How to Make It:
- Start with a foam wreath base and wrap it in burlap or twine.
- Attach miniature pumpkins and pinecones using hot glue.
- Fill in gaps with faux leaves, moss, or dried flowers.
- Finish with a plaid ribbon for a touch of fall charm.
My Tip: Use lightweight pumpkins to avoid making the wreath too heavy. Foam pumpkins work great!
4. Dried Flower Harvest Wreath
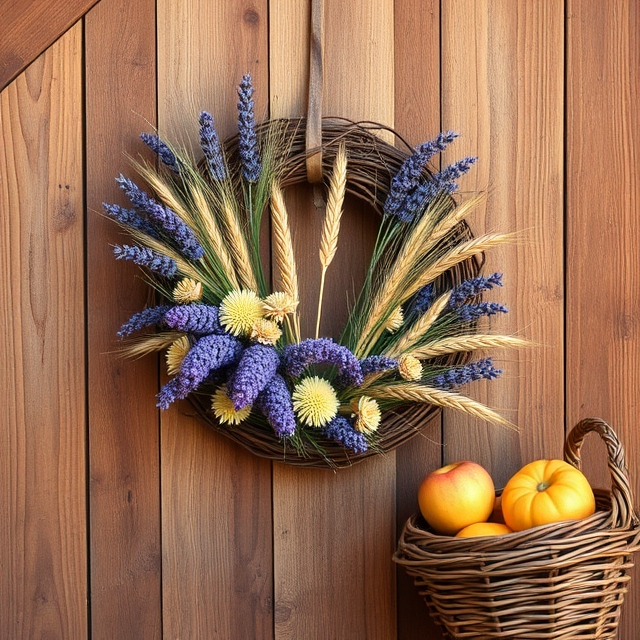
If you love a rustic, farmhouse feel, this one’s for you.
How to Make It:
- Begin with a grapevine or straw wreath base.
- Gather dried flowers like lavender, wheat stalks, and strawflowers.
- Arrange the flowers in small bundles and secure them with floral wire.
- Layer the bundles around the wreath, overlapping slightly for a full look.
Pro Tip: Spray the dried flowers with a sealant to preserve their color and prevent shedding.
5. Corn Husk and Ribbon Wreath
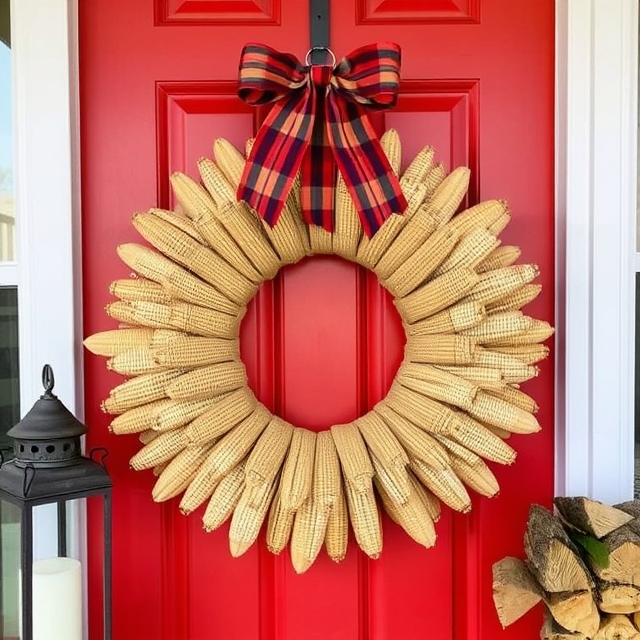
This one screams fall harvest and is surprisingly easy to make.
How to Make It:
- Wrap a foam wreath base in burlap.
- Attach dried corn husks around the base, layering them for a fan-like effect.
- Add a bold ribbon or bow at the top for a pop of color.
My Experience: I made this wreath last year, and it got so many compliments! The natural texture of the corn husks adds such a unique touch.
Tips for Success
- Plan Your Layout: Before you start gluing, lay out all your materials on the wreath to see how they look together.
- Mix Textures: Combine different materials like faux leaves, real foliage, and fabric for a dynamic look.
- Keep It Balanced: Whether you’re going for symmetry or an asymmetrical design, make sure it feels visually balanced.
- Durability: If you’re using real elements, remember they might not last as long as faux ones. Seal or spray them when possible.
Where to Display Your Wreath
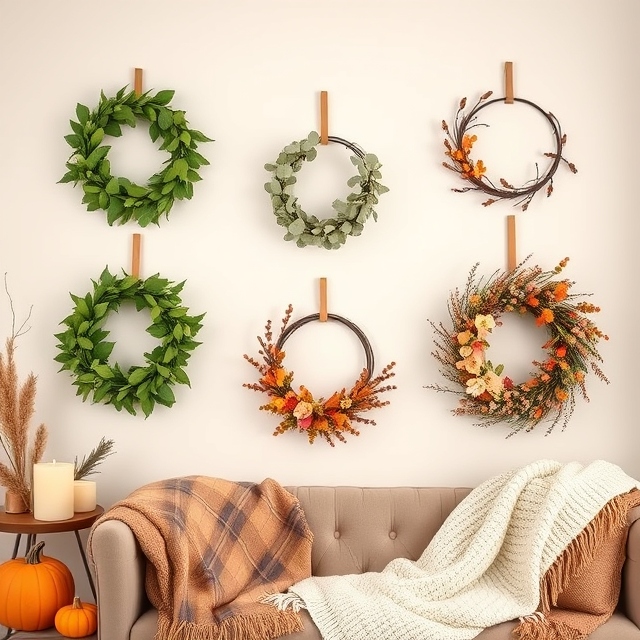
While the front door is the classic spot, don’t stop there! Consider hanging your wreath:
- Over the fireplace
- On a blank wall
- As part of a gallery wall
- On the back of dining chairs for a festive touch
Creating a DIY fall wreath is one of my favorite seasonal projects. It’s a simple way to bring the beauty of autumn into your home while showcasing your personal style. Plus, the compliments from guests make all the effort worthwhile.
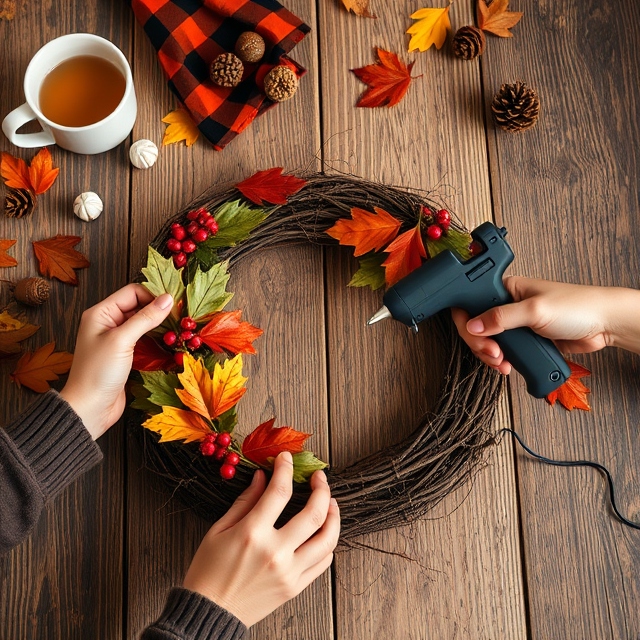
So, grab your glue gun, channel your inner crafter, and let your creativity shine. Trust me, once you make your first wreath, you’ll be hooked—and your home will feel like fall perfection.
HAPPY DIY!!
